How to Build a Shotgun Fruiting Chamber
The Grower's Go-To Setup
A Shotgun Fruiting Chamber (SGFC) is the most popular DIY fruiting setup in the mushroom growing community — and for good reason. It's cheap, easy to build, and produces consistent results across multiple varieties and flushes. This guide walks you through the whole build.
What You'll Need
56qt or 66qt works best. You want clear or slightly frosted (not opaque white). The block needs light and you need to see what's happening. Available at Walmart, Target, or Amazon for ~$10–15.
You'll be drilling a lot of holes. A standard cordless drill works fine. A ¼" bit is the standard size.
Available at any garden center in the soil amendments section. Buy a medium grade (not fine, not coarse). A small bag (~$8–12) is more than enough.
To elevate the block above the perlite. A cooling rack, small wooden board, upside-down plate, or plastic lid all work. The block should NOT sit directly on the perlite.
Filled with clean water.
To monitor humidity inside the chamber. Small digital ones are ~$5–10 on Amazon.
Total build cost: ~$15–30 depending on what you already have. Once built, the chamber can be reused indefinitely — for dozens of blocks and flushes.
Building Your Chamber
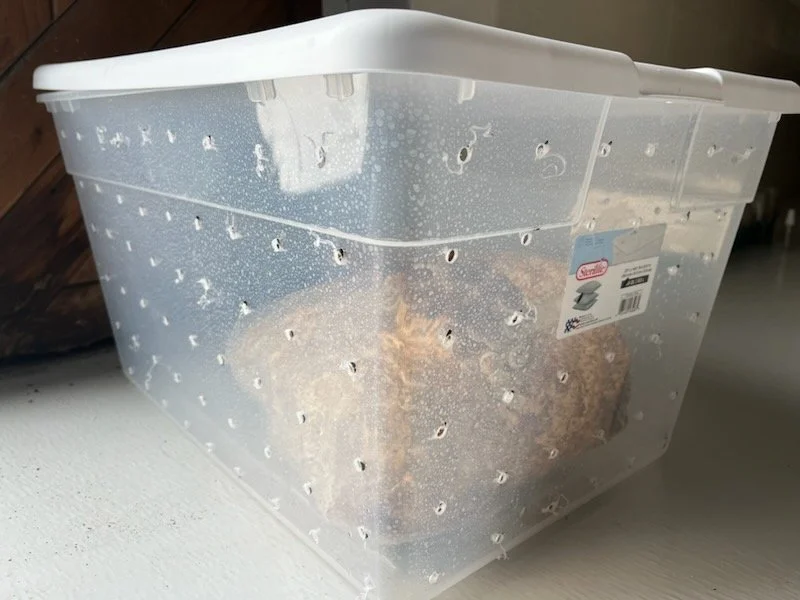
Flip the tote over. Using a marker, mark a grid of dots every 2 inches on the bottom. Then mark the same grid on all 4 sides and the lid. You'll end up with a lot of dots — that's normal. The "shotgun" name comes from this hole pattern.
[Image placeholder: tote with grid of dots marked on the outside surface, ready to drill]
Drill a ¼" hole at every dot. Take your time — go through all 4 sides, the bottom, and the lid. The holes provide passive airflow from all directions, which is what makes this chamber so effective.
Don't worry about being perfectly precise. The spacing doesn't need to be exact.
[Image placeholder: drilling holes in side of tote — close-up showing hole pattern]
[Image placeholder: completed tote with all holes drilled, held up to light showing the hole pattern]
Rinse your perlite in a colander under running water for 30–60 seconds to remove dust. Let it drain completely — you want damp perlite, not soaking wet. The perlite acts as a passive humidity reservoir: it slowly releases moisture into the air inside the chamber.
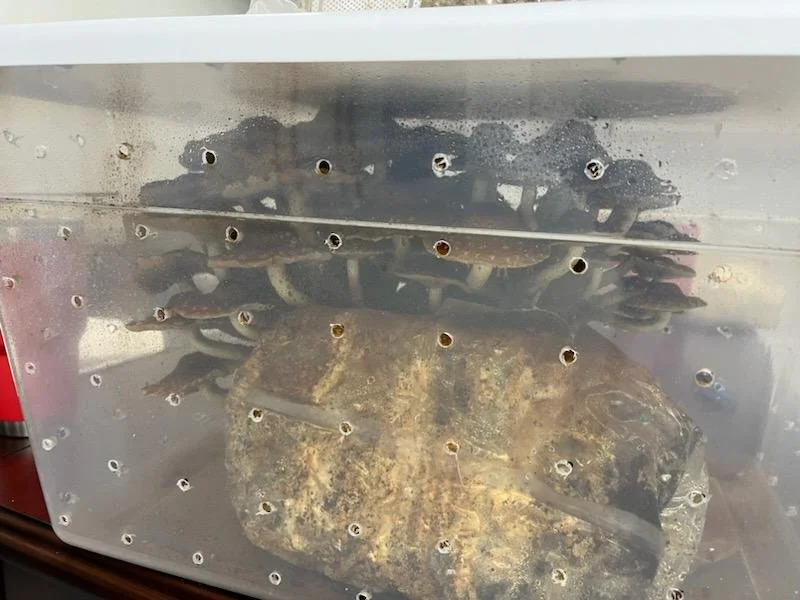
Add 4–6 inches of damp perlite to the bottom of the tote.
[Image placeholder: perlite being rinsed in colander, or perlite layer in bottom of tote]
Place your small rack or platform on top of the perlite. The rack elevates the block above the perlite so it doesn't sit in moisture, while still benefiting from the humidity coming off the perlite below. The rack should be stable — test it before placing the block.
[Image placeholder: rack/plate sitting on top of perlite layer inside tote]
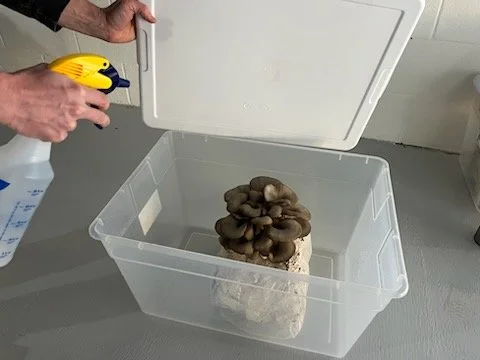
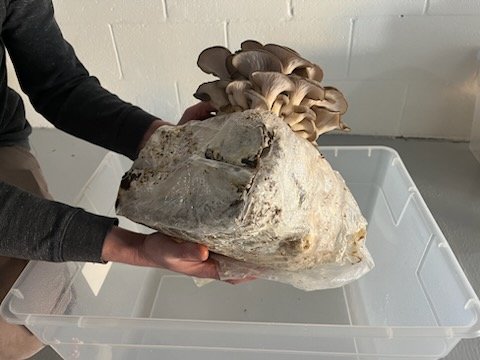
Set your grow block on the rack, folded seam side down. Make sure the block is stable. Close the lid.
Your chamber is built. Now head back to your variety's growing instructions to cut your X and begin the fruiting process.
Tips & Troubleshooting
What size tote is best?
56–66qt is ideal for a single 5# block with room to grow. Bigger totes aren't necessarily better — too much airspace can make it harder to maintain humidity. The Sterilite 66qt from Walmart is a popular choice.
Does the tote need to be completely clear?
Clear or lightly frosted works. Avoid opaque white — you won't be able to see what's happening inside without opening it constantly.
Can I use coarse or fine perlite?
Medium grade is best. Fine perlite turns to dust and clogs. Coarse perlite doesn't hold as much moisture.
My humidity is dropping too fast.
Re-wet the perlite. Also check that the holes aren't too large — ¼" is the standard, larger holes let too much humidity escape.
I'm getting contamination on my perlite.
This usually means water is pooling. Make sure perlite is damp but not soaking. Sanitize the chamber between uses.
My mushrooms are growing long and leggy.
Needs more FAE. Fan the inside more aggressively when you open it. You can also temporarily leave the lid slightly ajar for a few hours.
Can I grow multiple blocks at once?
Yes, if you use a larger tote and have space. Keep in mind that more blocks means more CO₂, so you may need to fan more frequently.
Humidity tent vs. SGFC — which is better?
The SGFC gives more consistent results over multiple flushes and works better for slower-growing varieties like Reishi and Shiitake. The humidity tent is simpler and cheaper to get started. Both work for oysters. Learn more about humidity tents.